Cookie
Electronic Team, Inc. uses cookies to personalize your experience on our website. By continuing to use this site, you agree to our cookie policy. Click here to learn more.

COM Port on Windows 10 - Common Problems

Olga Weis Olga Weis

We’ve created this article to help you learn how to check ports on Windows 10, as well as list their settings, and even communicate with connected devices using nothing but built-in Windows tools. Serial ports are more difficult to work with than USB, but there is still a variety of methods that can help you out.

Virtual COM Port Driver
14-day free trial

Check COM Ports in the Device Manager

The Device Manager is the easiest way to see the list of your available ports. Generally, if you want to inspect your PC’s components, it’s the first place to look. There are multiple ways to open the Device Manager to see Windows 10 COM ports:

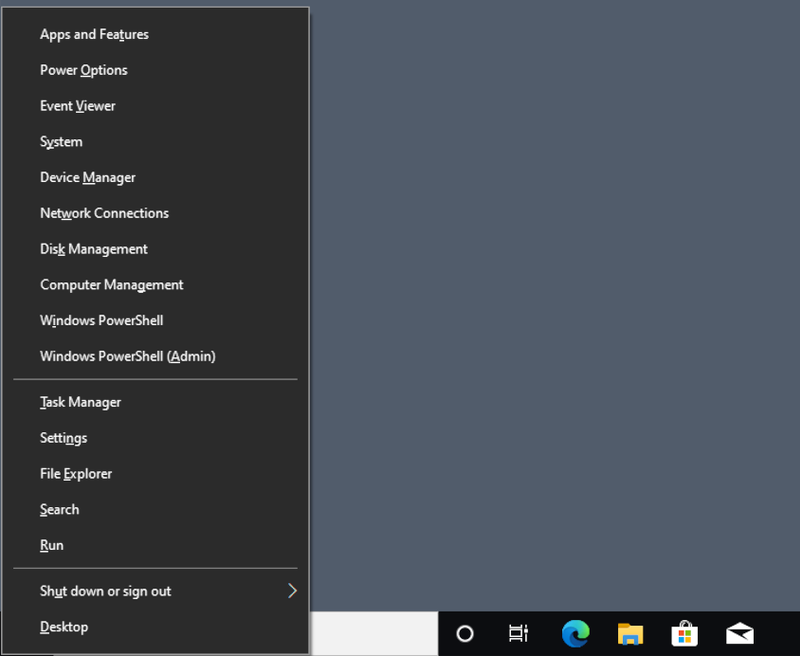
Press Win+X, and select it from the newly opened menu.

The system tool menu available from Win+X

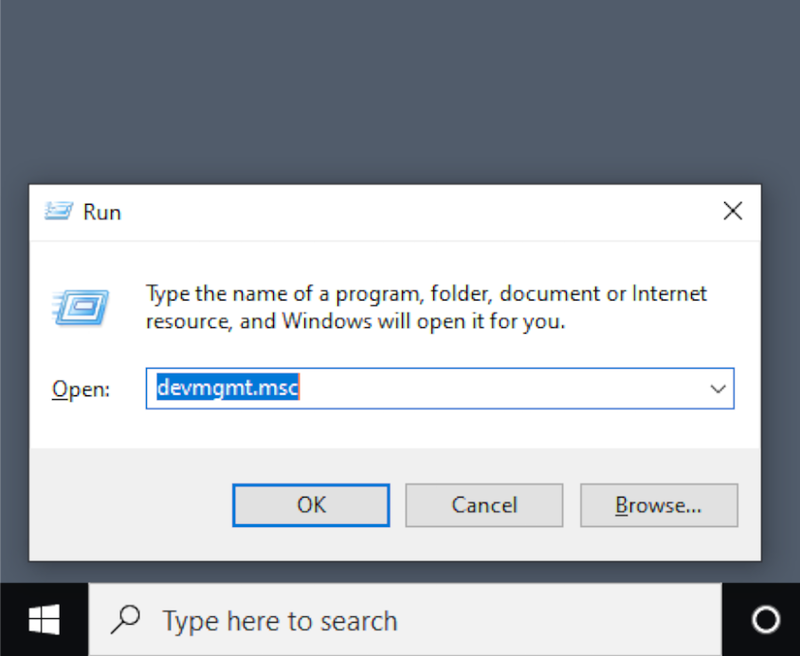
Press Win+R to open the Run prompt, and type in devmgmt.msc.

The Run window, ready to launch the Device Manager

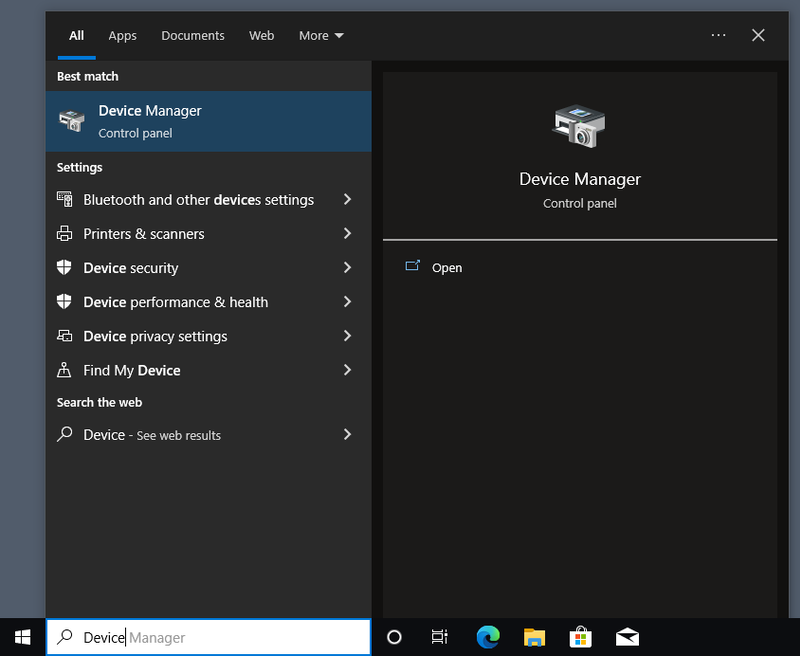
Simply type “Device” into the search bar, and find it in the search results.

Windows Search automatically completing

If you have problems with COM ports not showing in Device Manager, this could be caused by a different version of Windows that hides them by default, a technical issue with your motherboard, or a lack of drivers for a USB-to-serial adapter.

How to Find COM Ports on Windows 10

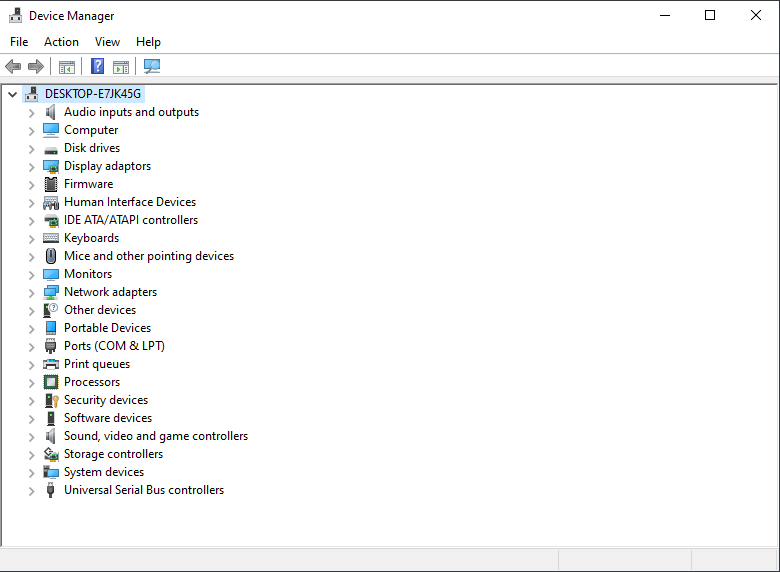
  1. Open the Device Manager.
An overview of the Device Manager
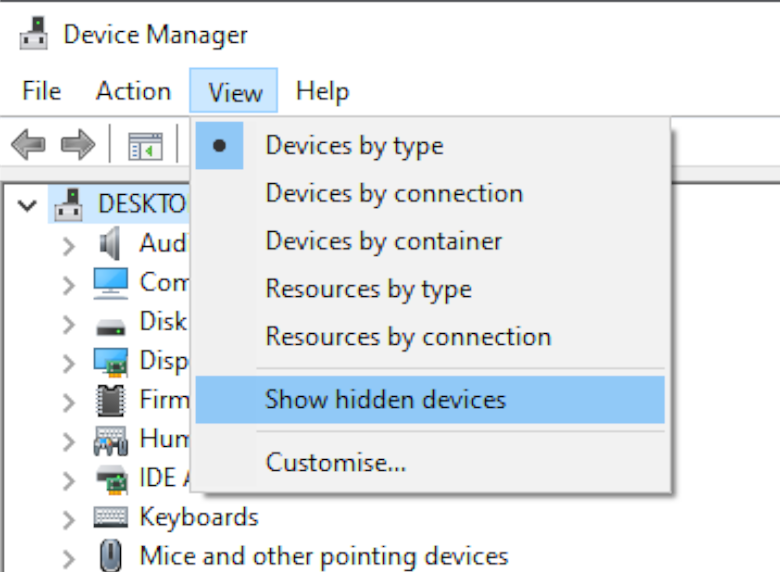
  1. Optionally, enable “View” → “Show Hidden Devices”.

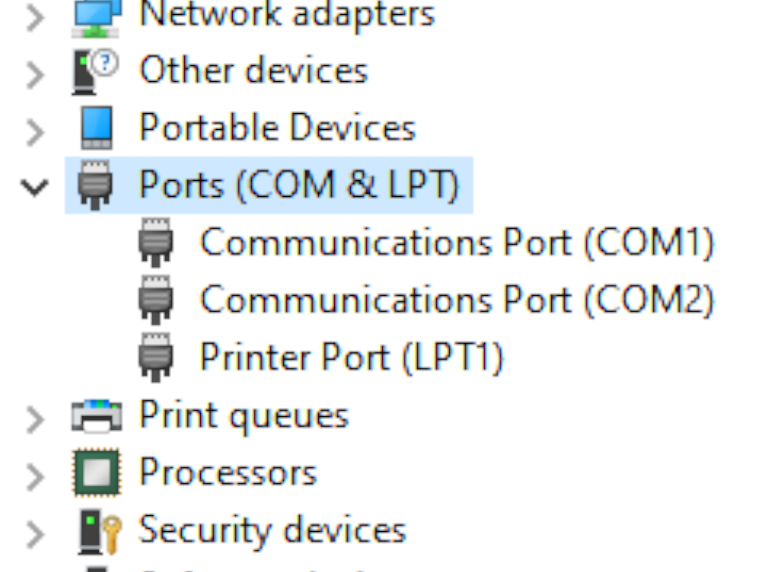
  1. Locate “Ports (COM and LPT)”.
The Ports category is highlighted and expanded, revealing COM1 and COM2

You can now right-click any individual port to view their Windows 10 COM port settings, and possibly disable them or update their drivers.

List COM Ports - Windows 10 Command Line Solution

If you’d want to know how to view COM ports in Windows 10 through the Command Prompt, it’s easy, but first you need to launch CMD. This is done by entering “cmd” in the Run prompt, which is opened with Win+R.
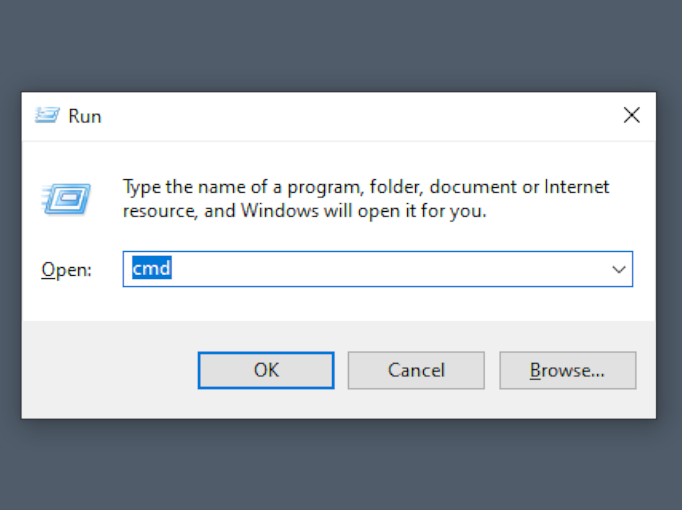

Once the terminal is opened, type mode and confirm by pressing Enter. You will get data on the available ports and their settings.
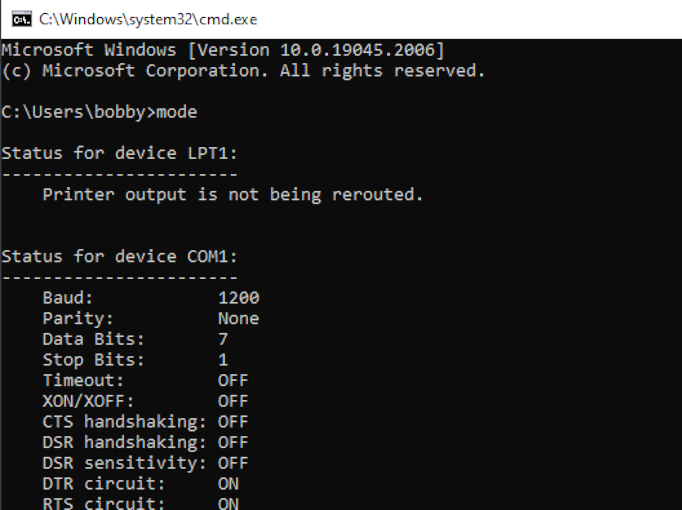
The output of

Some details on how to check COM port in Windows 11 are different, since the addition of the Windows Terminal.

What Port Am I Using?

COM ports are simple - unlike USB, the devices won’t identify themselves. Thus, the only way to see if anything is connected to a Windows 10 COM port is to receive a message from the connected device. This can be done with PowerShell. Before trying this approach, you’ll need to find the correct settings to be used when communicating with the device, including the baud rate, parity bits, etc.

How to Find what COM Port a Device is On

  1. Open PowerShell by pressing Win+X and selecting “Windows PowerShell (Admin)”.
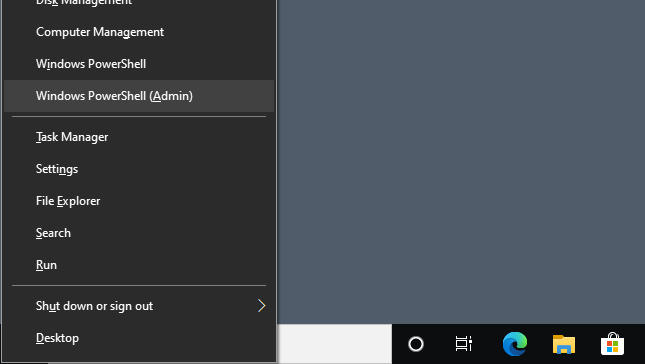
The PowerShell administrator option highlighted in the Win+X menu
  1. Add the port as an object:
    $port = New-Object System.IO.Ports.SerialPort [port name],[baud rate],[parity],[data bits],[stop bits]
  2. Open the port with the $port.Open() command.
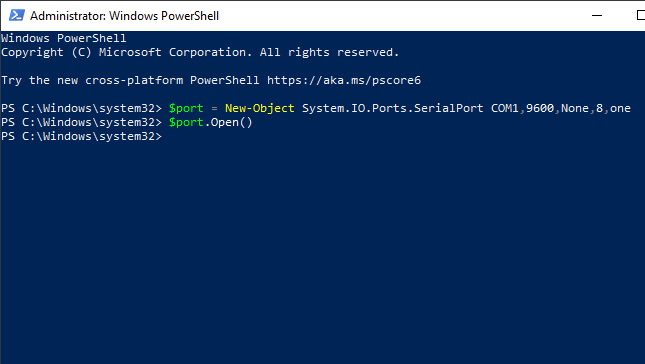
The $port object is created and opened
  1. You can now read a single line from the port or send a message to it by running $port.WriteLine() or $port.ReadLine().
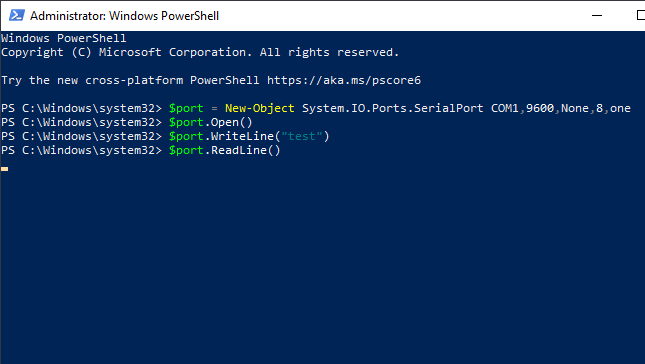
A test message is sent, and $port is waiting to read a line

ReadLine will keep running until it receives one line of data. If you want to read from the port continuously, this is best done with a serial terminal application.
Frequently Asked Questions

You can quickly access the Device Manager in one of the following ways:
  • The search box on your toolbar. You don’t need to type in the whole thing, just enough for it to show up in the search results.
  • Using Run. Press Windows+R to open the Run window, then type in “devmgmt.msc” and confirm.
If your COM port wasn’t immediately recognized by the system, it can still be added manually, unless there is a technical problem.

  1. Open the Device Manager.
  2. Open the Action drop-down menu and select “Add legacy hardware”.
  3. Choose “Install the hardware that I manually select from a list (Advanced)”.
  4. Your port should be located in the “Ports (COM & LPT)” group.
These are some of the common reasons why a port can’t be opened:
  • You lack the necessary drivers for a USB-to-serial adapter. These adapters tend to come with a driver CD. If that is unavailable, look for the manufacturer website, which should also have driver downloads.
  • The port is being used by a service. You can see which services are reserving the port from the Device Manager, under Properties > Details. You can then search for the process that corresponds to the service and kill it.

small logo Virtual Serial Port Driver
#1 at Serial Port Software
Virtual Serial Port Driver
Create virtual COM port pairs in Windows
5 rank based on 367+ users ( Learn more )
Get a download link for your desktop
Submit your email address to get a link for quick download on your desktop and get started!
or