Serial port voltage levels
A standard voltage for all RS-232 signal pins ranges from -15V to +15V. The voltage swings, occurring while transporting data, can total 30V. Besides, RS-232 ports can work with voltages as low as -5V to +5V. The wide range of voltages used by the RS-232 port makes possible the compatibility with different types of A/V equipment.
What you should remember is that large voltage fluctuations in RS-232 signal lines can cause substantial electrical noise, so it’s not recommended that you run RS232 signals near a high-impedance microphone or audio lines. In case you can’t avoid running these signals close to each other, you need to make sure that all of your audio wires are properly shielded.
What is the baud rate?
The rate at which information is transferred over the RS-232 communication channel is known as baud rate. Some of the common baud rates for serial port are 1200, 2400, 4800, 9600, 57600. Typically, COM port baud rates fall into the range of 1200 to 19200.
You have to set the same baud rate on both sides of using machines.
Note: The higher a serial port baud rate, the more data can be transferred in less amount of time.
RS232 cable lengths
With the increase of the baud rate, the length of your RS232 cable linking A/V equipment to the controlling system decreases. For example, a standard 100-foot cable is generally used when the baud rate is from 1200 to 2400. If you are transmitting at 9600, your cable should be a maximum length of 50 feet, etc.
Learn more about RS232 serial cable and what is the difference between a null modem and straight through serial cable
Serial port troubleshooting
There are two most common serial port problems: software incompatibilities that result in a non-working serial port and faulty wiring that causes connection issues.
Software problems and the optimal solution
If your hardware connection is correct, but the serial communication still cannot be established, the problem may lie in improper software settings.
In order for communication to be efficient, the connection settings for both the controlling system and the connected device must be identical. Such parameters as Baud rate, Data Bits, Parity, and Stop Bits must match on both systems. That means if your computer’s COM port is set to operate at 2400 baud, you need to have your device set to 2400 baud as well. Also, you should properly configure the number of Data Bits - bits transmitted in a single character. This parameter can be set to either 7 or 8.
Parity indicates whether the number of 1s in a single transmission is odd or even. If this is not important for your program, you can set this parameter to None. The end of the transmission session is defined by the Stop Bit which can be set to 0, 1, or 2. The typical configuration for A/V equipment is: Data Bits - 8, Parity - None, Stop Bit - 1.
When troubleshooting COM port issues, make sure that all the aforementioned settings are identical on both ends of your serial connection.
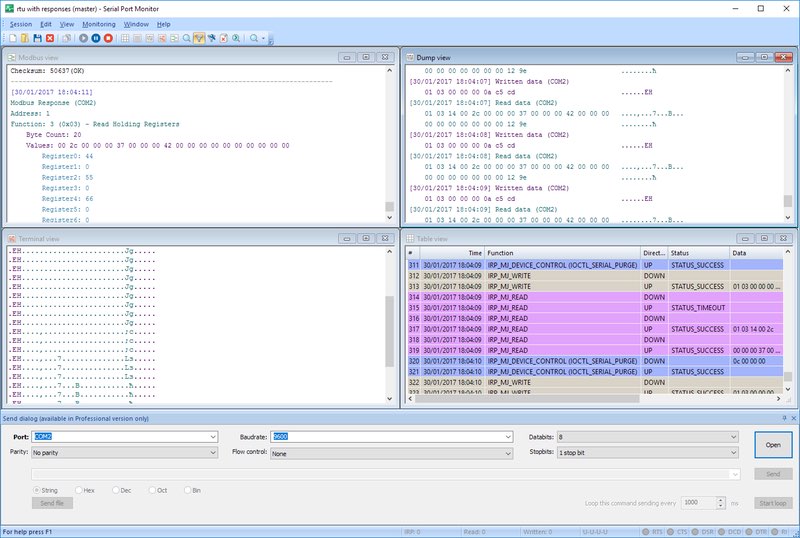
If you want to reduce the time spent on serial port communication troubleshooting, you may try Serial Port Debugger (aka Serial Port Monitor), a professional app designed for sniffing and recording COM port activity.
Serial Port Monitor is easy to install and use. The solution can become your indispensable tool for troubleshooting serial communication issues.
Hardware problems
Incorrect wiring is another common issue faced by the installers of A/V equipment. In most cases, control systems require that you connect only two wires to the controlled device. The Transmit (XMT) and Ground (GND) pins on the computer should be connected to the Receive (RCV) and Ground (GND) pins on the controlled A/V device respectively (see Fig. 1)

If you want to get a response from the controlled device, you should connect the third wire (see Fig. 2). For instance, this is the recommended wiring if you are communicating with a device via your PC’s serial port:

Checking the wiring
It’s not easy to tell whether the serial port connections between your control system port and A/V device port is correct if the pins are not labeled. However, when you use a terminal block connector, you can check the wiring with a voltmeter set to “DC”. In case the reading between the receive pin and the ground pin on the terminal block connector is between -12V and -6V, and your XMT line has the same reading as shown below (Fig. 3), the connection is good.

If you have 0 volts on your receive line after you have linked the control system to your A/V equipment, this means that your serial port error is the result of the transmit and receive lines being reversed (see Fig. 4).

In summary, troubleshooting RS-232 serial connections often involves checking both software configurations and hardware wiring. By ensuring that communication parameters like baud rate, data bits, and parity are correctly set, and verifying that your wiring is properly connected, most serial communication issues can be resolved efficiently. Tools like Serial Port Monitor offer valuable support in diagnosing and resolving these problems quickly, allowing your A/V equipment to operate seamlessly.


